After
the successful test run of this piece - and knowing that I wouldn't have an abundance of time to work on it with this being the start of Spring term for USG schools - I took advantage of last weekend to cut, press, sew, and finish the
etchū fundoshi that will serve as the undergarment for the Boy's "Haku" costume that is his half of our Spirited Away couple's cosplay.
 |
| THE FINISHED PANEL W/ ATTACHED WAIST TIES |
After the test run, it was decided that the raw dimensions for the main panel should be 16"Wx34"L. Out of my almost yard of nice linen, I was able to cut two panels of this length, with a bit of fabric left over to make make costume-internal belt pouches later on. I left the selvage as-is on the end that would hang free, reasoning that economy of time and effort is key to this piece. After all,
Yubaba certainly wouldn't spend one cent extra of her precious money for finesse work on undergarments for our hypothetical spirit serfs!
After cutting the raw panels, I realized that the edges didn't line up properly, so I needed to address this before proceeding. I was taught to straighten the grain by "truing" Aida cloth when I learned how to cross-stitch. This method works well on loosely woven fabrics (like the linen I'm using for the main panel), as you simply pull loose threads one-at-a-time down the edge of a fabric panel until you can pull a single thread loose from one end to the other. Do that for each side fabric panel then trim the "fringe". Be careful to not trim too close and create new snipped threads, and your fabric is ready to use in your project.
Before I started this project, I didn't know how to make a rolled hem, narrow or otherwise. I read several blog posts, watched more than a few videos, and wasted a lot of scrap fabric trying to figure it out.
 |
| My first tragic attempts at creating rolled hems with a Narrow Hem Presser Foot |
My darling Boy, noting my rising frustration, suggested that I post a social media-based call for help. Within the hour, I received several great bits of advice, made a new sewing mentor friend, and was linked to a stunningly helpful blog. A half-yard of 2"-strip scrap fabric later, and I could make perfectly turned narrow hems!
After pre-washing and ironing the patterned cotton fabric, I was able to get five 3"-wide strips. The Boy wants long waist ties, enough to wrap around twice, so I cut one of the strips in half to have enough strips for two extra-long waist ties of equal length.
 |
| SIX 3"WIDE STRIPS - FOUR ARE 44"LONG AND TWO ARE 22"LONG |
Using the smallest strips as the center, I sewed a long strip to each end and ironed the seams flat. Then I laid the top edge of the linen panel on the center of open waist tie and folded the tie in half (downward) as shown below. Pins were used to hold the fabric together while I zig-zagged the top and bottom edges of each waist tie; top edge first to prevent the fabric from buckling when I sewed the bottom edge shut and (hopefully) when worn, too.
 |
| CENTERING THE PANEL ON THE WAIST TIE PRIOR TO PINNING |
 |
| WAIST TIES PINNED TO THE LINEN PANEL; READY TO SEW! |
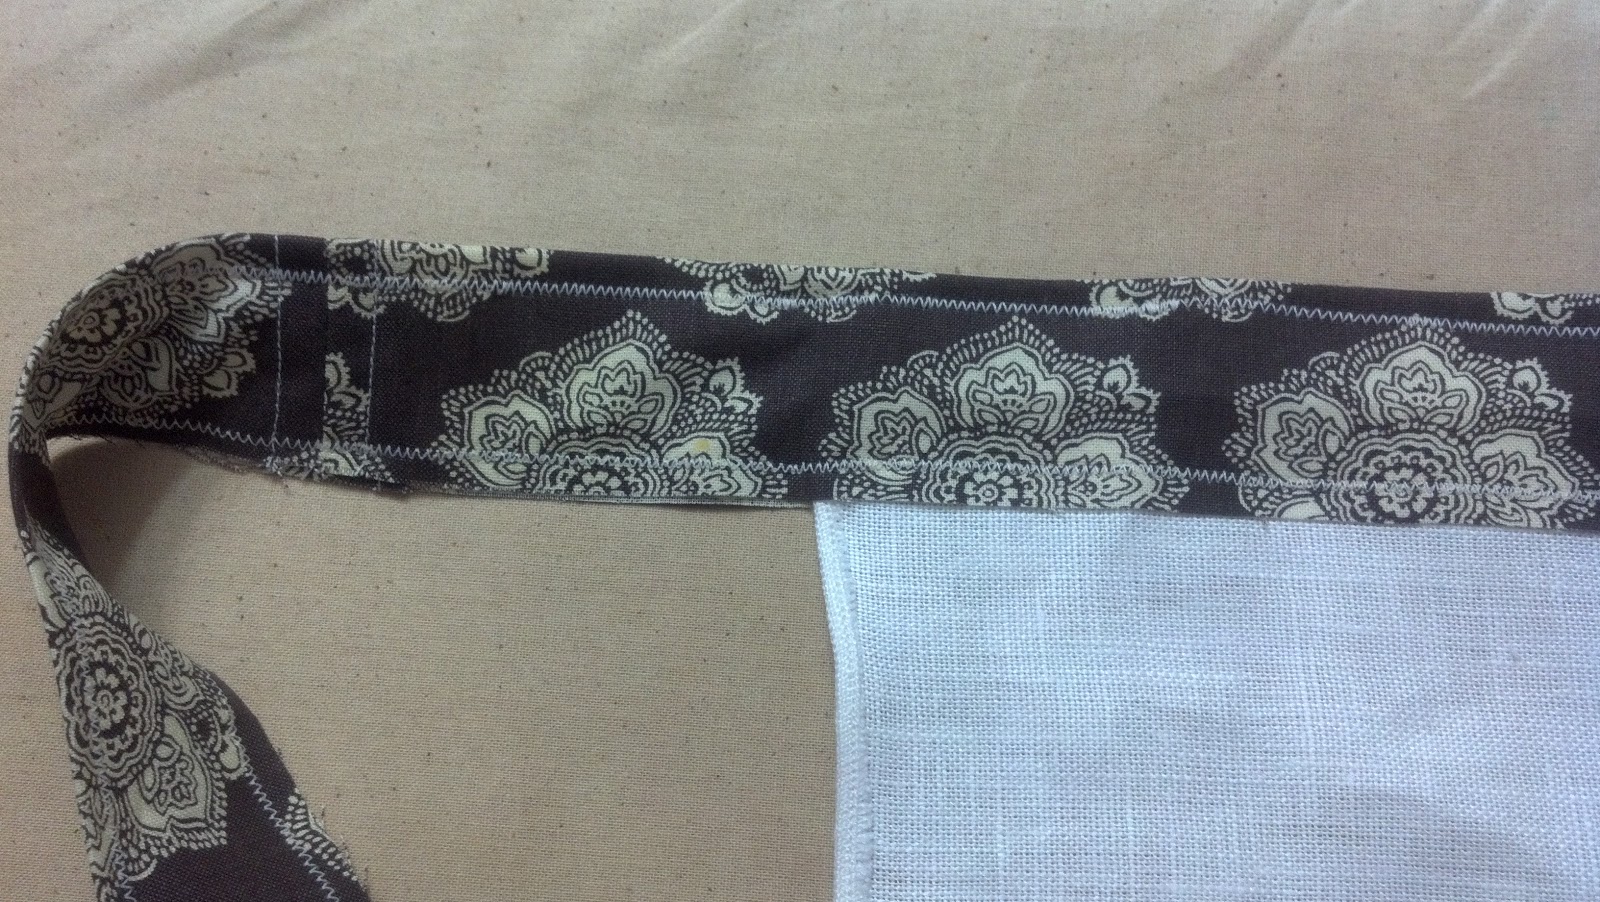
This is a close-up photo of the stitching. Narrow rolled hems at the side of the linen panel, straight stitches at the seam of short-and-long waist ties with two additional rows of vertical straight stitching to keep the raw edges flat against the skin, and the decoratively functional zig-zag stitching on the upper and lower edge of each waist tie. I'd not realized it before, but the zig-zag stitching also makes the cotton just a touch stretchy; something good to know for future projects!
 |
| TWIN ZIGZAG HEMS ON TOP AND BOTTOM BORDER OF THE WAIST TIES |
My next #cosplay post will feature images and descriptions of the finishing details for this costume piece.


No comments:
Post a Comment